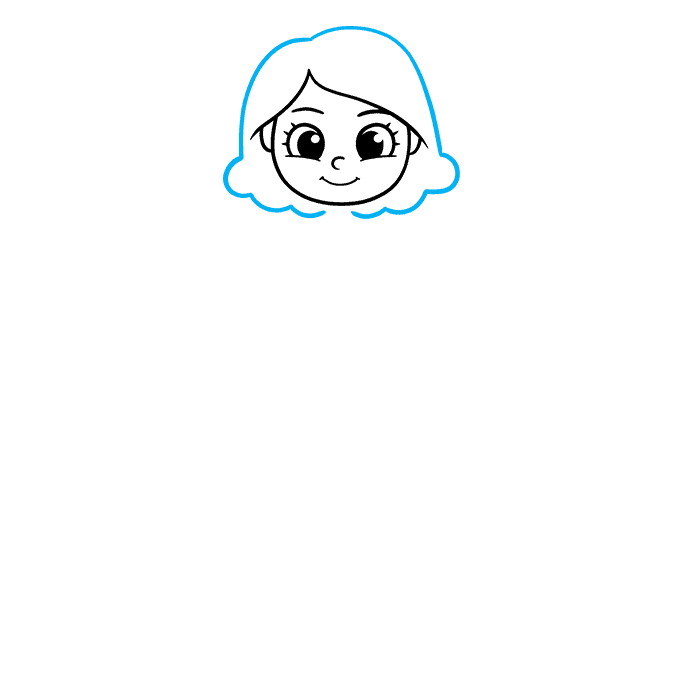
Step 1: Begin the face. Sketch two large eyes, gentle brows, a small nose, and a smiling mouth.
Begin the cartoon fairy outline by drawing her face. Draw two curved lines, then enclose a partial circle resting on each. These will become the fairy's eyes.
Draw two successively smaller circles inside each eye and shade between them. Draw short lines around the eyes to indicate eyebrows. Then, use curved lines to draw the eyebrows, nose, and smiling mouth.
Step 2: Outline the face and hair with flowing curves; add ears with short lines.
Use long, curved lines to outline the face, starting from the sides of the face and connecting at the chin. For the hair, draw flowing curves that frame the face.
Add small curved lines for the ears on either side of the head. Make sure the hair flows naturally and has some volume around the head.
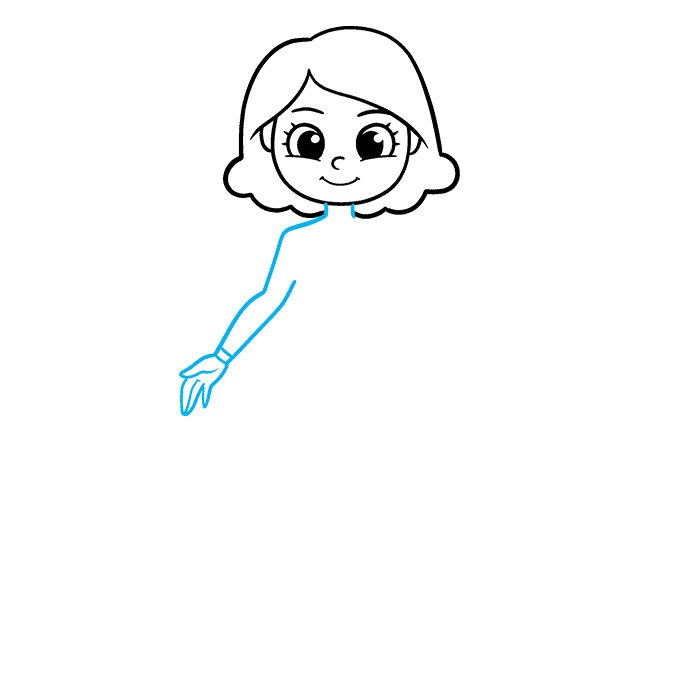
Step 3: Draw a simple torso and waist, connecting to the head with a neck.
Sketch a slender neck connecting the head to the body. Draw the torso with gentle curves for the shoulders and chest, then narrow down to the waist.
Keep the proportions delicate to maintain the fairy's graceful appearance. The shoulders should be about as wide as the head.
Step 4: Add slender arms with graceful curves, and simple hands.
Draw the arms extending from the shoulders. Make them slender with gentle curves to show movement. For the hands, keep them simple - you can draw mitten shapes or basic finger outlines.
One hand might be raised as if casting magic, while the other could rest at the side. Add slight curves for elbows.
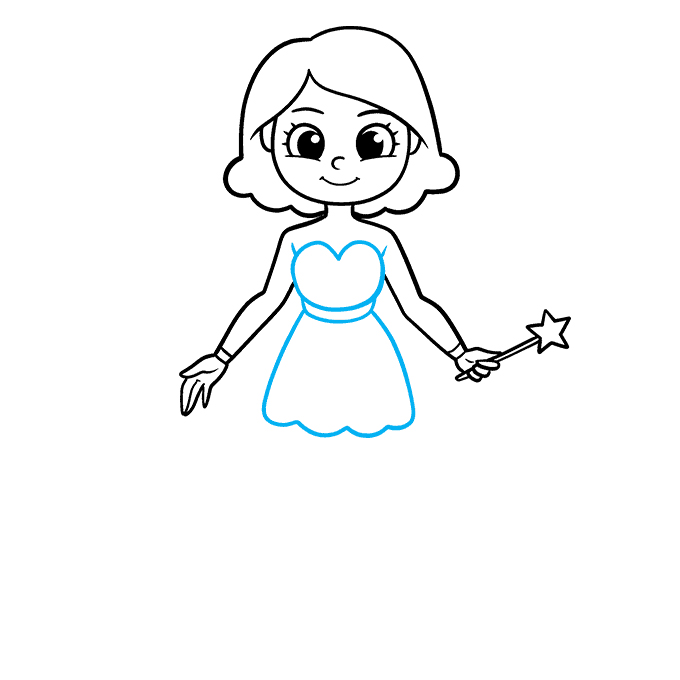
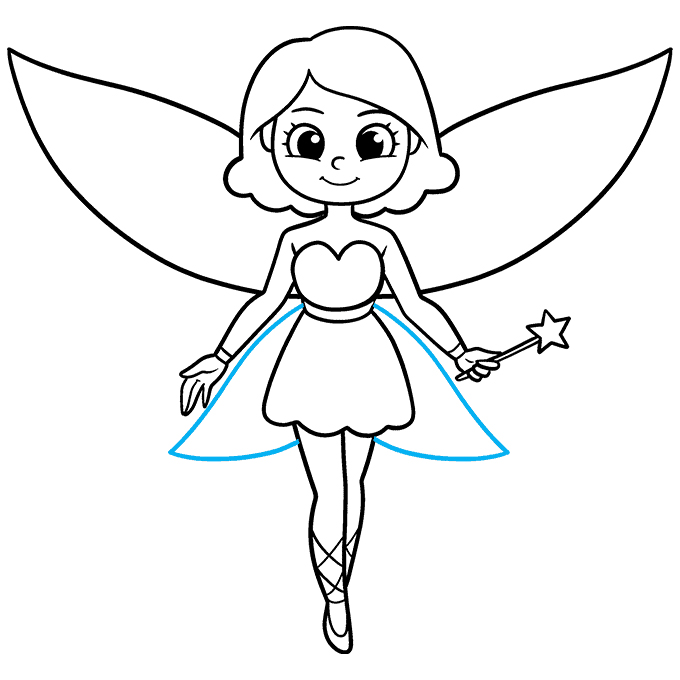
Step 5: Sketch a flowing dress with a fitted bodice and flared skirt.
Draw a fitted bodice that follows the torso, then create a flowing skirt that flares out. Use wavy lines at the bottom to show movement.
Add some simple details like a waistline or basic patterns. The dress should look light and airy, as if floating.
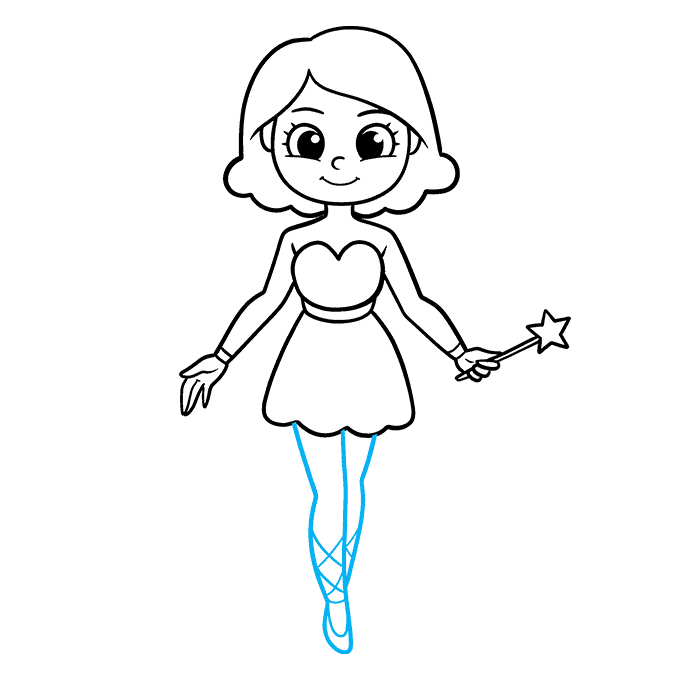
Step 6: Add slender legs peeking from under the dress, with simple feet.
Draw legs extending from under the skirt. Make them slender and graceful. You can show one leg slightly bent to suggest movement.
For feet, keep them simple - either pointed like ballet feet or basic foot shapes. Consider adding simple shoes or leaving barefoot.
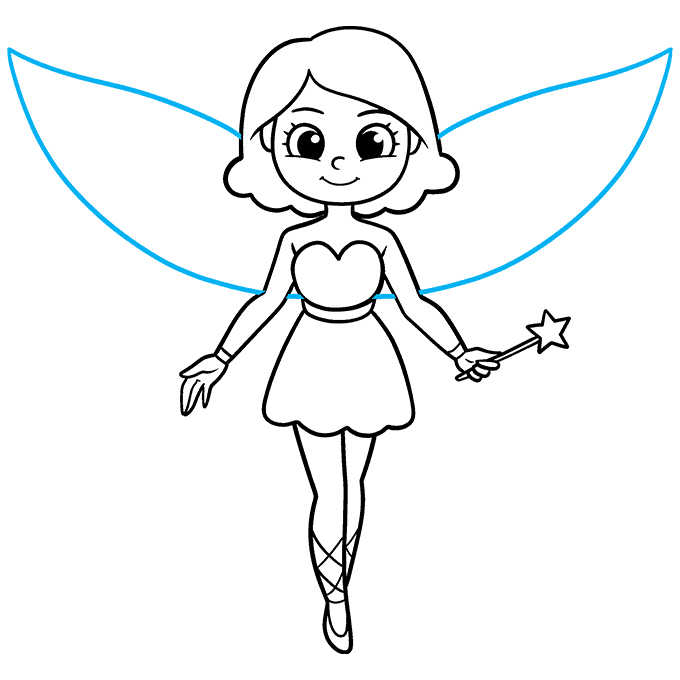
Step 7: Draw large, delicate wings extending from the back.
Sketch the basic shape of the wings behind the fairy's back. Fairy wings are typically large, delicate, and translucent.
Draw the overall wing shape first - they can be butterfly-like, dragonfly-like, or original shapes. Make sure they're proportional to the body.
Step 8: Add intricate patterns and details to the wings.
Add vein-like patterns to the wings. These can be delicate lines that follow the wing shape. Add some decorative patterns like dots, curves, or simple shapes.
The wing details should be symmetrical on both sides. Keep the lines light and delicate to maintain the ethereal quality.
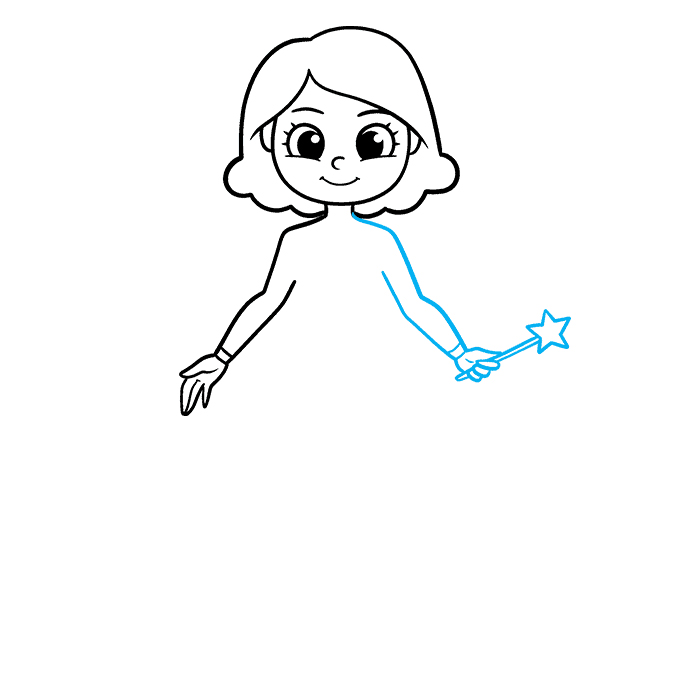
Step 9: Add magical elements like a wand, sparkles, or floating particles.
Draw a simple wand in one hand - a straight line with a star or crystal at the end. Add sparkles or stars around the wand and fairy.
You can also draw small floating particles or light beams. These magical elements enhance the fairy's enchanting appearance.
Step 10: Finalize your drawing with clean lines and add color.
Go over your sketch with clean, confident lines. Erase any unnecessary guidelines. Add final details like hair strands, fabric folds, or additional decorations.
When coloring, use soft, light colors for an ethereal look. Consider making the wings semi-transparent and adding glow effects to magical elements.